
Furniture Disassembly and Reassembly Tips for a House Move
Master furniture disassembly and reassembly tips for a house move to avoid damage and lost parts. Call (833)-484-8675 for expert moving help.

By Sarah Morris
Your sectional sofa will not fit through the front door. The dining table is too wide for the hallway. And that antique dresser? Its legs are fragile, and one wrong tilt could snap them. Furniture disassembly and reassembly is often the difference between a smooth move and a stressful one. But take apart the wrong piece, or lose a single screw, and you have created a problem that costs time and money to fix. The good news is that with a few smart strategies, you can handle most disassembly yourself, or know exactly when to hand it off to professionals.
This guide walks you through the entire process, from deciding which pieces to take apart to putting everything back together in your new home. You will learn how to protect joints and threads, keep hardware organized, and avoid common mistakes that lead to wobbly tables and stripped screws. Whether you are moving across town or across the country, these furniture disassembly and reassembly tips for a house move will save you frustration and help your belongings arrive in one piece.
Which Furniture Pieces to Disassemble (and Which to Leave Alone)
Not every piece of furniture needs to come apart. In fact, disassembling some items can do more harm than good. The key is to evaluate each piece based on its size, construction, and value. Generally, you should disassemble items that are too large to fit through doorways or are too heavy to carry safely. But if a piece is glued, fragile, or has a complex mechanism, it is often better to leave it assembled and let professional movers handle it.
Here is a quick breakdown of what typically comes apart and what should stay together:
- Disassemble: Beds (especially large frames), dining tables with removable legs, sectional sofas (if designed for it), large desks, bookcases taller than 5 feet, and modular shelving units.
- Leave assembled: Solid wood dressers (unless extremely heavy), upholstered chairs, small side tables, antiques with delicate joinery, and any piece held together with glue rather than screws.
Always check the manufacturer's instructions or look for visible fasteners. If you see screws, bolts, or cam locks, it is likely designed for disassembly. If you see only glue or intricate joinery, do not attempt to take it apart. For items like pianos or large antiques, specialized movers are your best bet. If you are unsure, consult a professional moving company for advice. Many full-service movers offer disassembly and reassembly as part of their service, which can save you time and risk. For more on packing efficiently around these decisions, see our smart packing strategies for a stress-free move.
Tools You Will Need for Safe Disassembly
Having the right tools on hand makes disassembly faster and safer. You do not need a full workshop, but a few basics will cover most furniture. A cordless drill with a screwdriver bit is a game-changer, but be careful not to strip screws by over-tightening. Manual screwdrivers in various sizes are essential for delicate work. You will also want a set of Allen wrenches (hex keys), which are common for IKEA and other flat-pack furniture.
Here is a checklist of tools to gather before you start:
- Cordless drill with Phillips and flathead bits
- Manual screwdrivers (Phillips, flathead, and small precision sizes)
- Allen wrench set (metric and standard)
- Adjustable wrench or pliers
- Painter's tape or masking tape
- Zip-top bags and a permanent marker
- Small container or organizer box for hardware
- Furniture sliders or a helper for lifting
Also consider having a small hammer and a putty knife for gently prying apart stubborn joints. But remember: never force anything. If a joint will not budge, it may be glued or nailed, and applying too much force can crack the wood. In that case, stop and consider leaving it assembled. When in doubt, hiring professional movers who are trained in furniture handling is the safer choice. They have the tools and experience to disassemble tricky pieces without damage.
Labeling and Bagging Hardware: The Key to Stress-Free Reassembly
Losing a single screw can turn reassembly into a nightmare. The best way to avoid this is to label and bag all hardware as you go. Before you remove a single screw, grab your zip-top bags and marker. As you disassemble each piece, place the screws, bolts, and small parts into a bag. Then label the bag with the furniture piece name and the specific location (e.g., "Dining table legs" or "Bed frame bolts"). Tape the bag directly to the furniture piece or keep all bags in one labeled container.
For extra organization, use a divided organizer box or a muffin tin to sort hardware by piece. If you have multiple items, assign each a number or letter and label both the hardware bag and the furniture with a matching sticker. This simple step will save you hours of confusion later. Also, take photos of the disassembly process, especially for complex items like sectional sofas or adjustable desks. A quick photo of the screw placement before removal can be a lifesaver during reassembly.
Another pro tip: keep the original assembly instructions if you have them. If not, search online for the model number. Many manufacturers provide PDF instructions. Having these on hand will make reassembly much smoother. And if you are hiring movers, ask if they will handle disassembly and reassembly. Many professional moving companies include this service, and they often bring their own labeling system. This can be a huge time-saver and reduce the risk of lost parts.
Protecting Joints, Threads, and Finishes During Disassembly
Furniture is not indestructible. During disassembly, the most vulnerable parts are the joints, screw threads, and finishes. To protect them, start by cleaning the piece and removing any fragile items. Use painter's tape to secure doors and drawers so they do not swing open during handling. When unscrewing bolts, support the joint with your hand to prevent stress on the wood. If a screw is stuck, apply a small amount of lubricant (like WD-40) and wait a few minutes before trying again. Avoid using excessive force, which can strip the screw head or crack the wood.
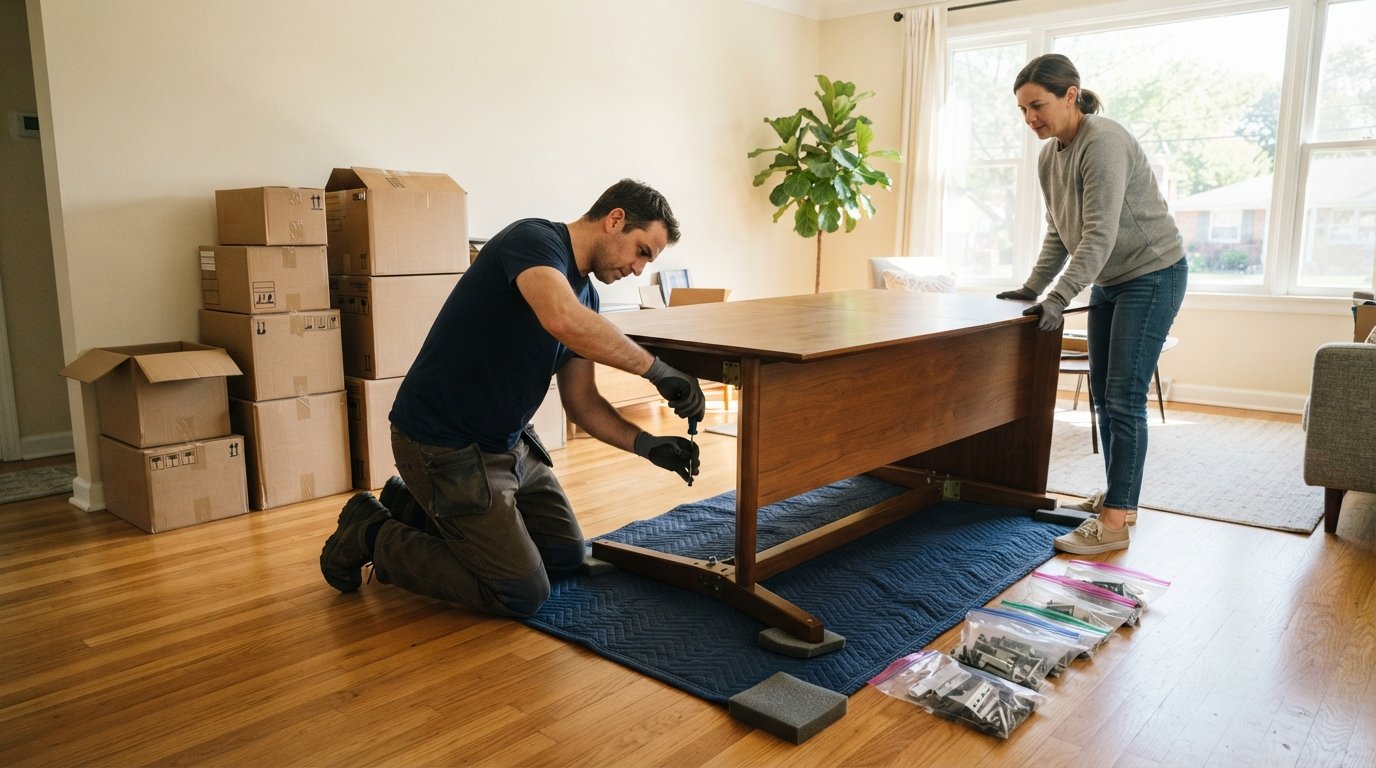
For finished wood surfaces, place a soft blanket or cardboard on the floor before laying pieces down. This prevents scratches. When removing legs from a table, turn the table upside down on a padded surface and unscrew each leg carefully. Keep the screws in a labeled bag. For metal threads, a dab of petroleum jelly during reassembly can prevent seizing. If you are disassembling upholstered furniture, be careful with staples or tacks that may be exposed. Wear gloves to protect your hands.
If a piece has glass or mirrors, remove them first and pack them separately with plenty of padding. For electronics or items with wires, take a photo of the connections before unplugging. And always lift with your legs, not your back, when moving heavy components. If a piece is too awkward to handle alone, ask for help. Professional movers are trained in safe lifting techniques and can prevent injury to you and damage to your furniture.
Step-by-Step Reassembly in Your New Home
Reassembly is not just about putting screws back in. The order in which you reassemble furniture can affect its stability and your safety. Start with the largest, most complex pieces first, such as beds and sectional sofas, because they take up the most space and are needed for daily living. Assemble these in the room where they will live, if possible, to avoid moving heavy items through tight hallways later.
Follow this sequence for a smooth reassembly:
- Unpack and organize all hardware bags by furniture piece. Match them to the labeled items.
- Review your photos and instructions to refresh your memory on the assembly order.
- Start with the base or frame, then add legs, shelves, and drawers. Do not tighten screws fully until all parts are in place.
- Once everything is aligned, tighten all screws and bolts securely. Check for wobbles and adjust as needed.
- Attach any doors, handles, or glass last, and test that they open and close properly.
After reassembly, dispose of packaging materials responsibly. If you hired professional movers for reassembly, inspect each piece before they leave to ensure everything is stable and undamaged. If you notice any issues, address them immediately. And remember, if you are ever unsure about reassembling a complex item, it is okay to call a handyman or the moving company for help. Many moving companies offer reassembly as part of their service, and it is often worth the cost for peace of mind.
For homeowners who are also considering energy upgrades after a move, resources like NewSolarQuotes provide independent educational guides on solar and renewable energy options. It is a helpful starting point if you are exploring ways to make your new home more efficient.
Finally, take your time. Rushing reassembly can lead to cross-threaded screws or missed steps. A steady, organized approach will get your furniture back together correctly and safely. And if you find that a piece did not survive the move, consider it a lesson learned and replace it with something easier to disassemble next time.
With these furniture disassembly and reassembly tips for a house move, you can approach your relocation with confidence. Whether you do it yourself or hire professionals, a little planning goes a long way. For additional support, you can always reach out to moving experts who can handle the heavy lifting and complex assembly for you.