
Prepare Car for Transport Checklist: 2026 Guide
Use this prepare car for transport checklist to avoid damage disputes, extra fees, and delivery delays. Clean, document, and secure your vehicle today.

By Mark Johnson
Shipping a vehicle can feel like a high-stakes operation, especially when you are juggling a cross-country move or a military deployment. Between coordinating dates, choosing a carrier, and worrying about potential damage, it is easy to overlook the simple steps that ensure your car arrives safely. The good news is that a little preparation goes a long way. This prepare car for transport checklist walks you through every essential task, from cleaning the interior to documenting existing scratches, so you can hand over your keys with confidence and avoid disputes later.
Why a Pre-Transport Checklist Matters
Auto transport companies handle thousands of vehicles each year, but they cannot read your mind. If you fail to remove personal items, forget to disable your toll pass, or neglect to photograph a dent, you may face delays, extra fees, or denied insurance claims. The carrier's liability is limited to damage that occurs during transit, and without proper documentation, proving that a scratch was not already there becomes nearly impossible.
Beyond protecting your wallet, a thorough checklist speeds up the entire process. When you arrive at the pickup location with a clean, inspected vehicle and all paperwork in hand, the driver can complete the inspection quickly, load your car without hassle, and get on the road. This means fewer chances for miscommunication and a smoother delivery on the other end.
Step 1: Review Your Transport Contract and Insurance
Before you lift a finger, read the fine print. Your transport contract outlines the carrier's responsibilities, liability limits, and the exact pickup and delivery windows. Most companies offer two types of coverage: the carrier's basic liability, which is typically minimal, and supplemental insurance that you can purchase for added protection. Check whether your own auto insurance policy covers damage during transport, and if not, consider buying the carrier's supplemental coverage.
You should also confirm the type of transport you selected. Open transport is the most common and affordable option, but it exposes your car to weather and road debris. Enclosed transport offers full protection and is ideal for luxury, classic, or modified vehicles. Make sure your contract matches your expectations, and ask about any additional fees for oversized vehicles, inoperable cars, or remote pickup locations.
Step 2: Gather Required Documents
Carriers need proof of ownership and registration before they can legally transport your vehicle. Keep the following documents handy:
- Vehicle registration and title (or a bill of sale if you recently purchased the car)
- Valid driver's license or government-issued ID
- Proof of insurance (both your policy and the carrier's, if applicable)
- Signed transport order or bill of lading
Make photocopies or digital scans of all documents, and keep the originals in a secure folder. Do not leave any paperwork inside the car during transit, as the interior will be sealed off and inaccessible. The driver will need to see your ID and registration at pickup, so have them ready before the carrier arrives.
Step 3: Clean Your Car Inside and Out
A clean car is not just about pride of ownership. It is a practical necessity for a successful inspection. Dirt, mud, and road grime can hide existing scratches, dents, or paint chips, making it difficult for the driver to note them on the condition report. If the carrier misses a pre-existing flaw, you may be held responsible for damage that was already there.
Wash the exterior thoroughly, including the wheels and undercarriage, and vacuum the interior. Remove any trash, food wrappers, or personal items from the cabin and trunk. A spotless car also signals to the driver that you care about your vehicle, which can lead to more careful handling during loading and unloading.
Step 4: Document Existing Damage
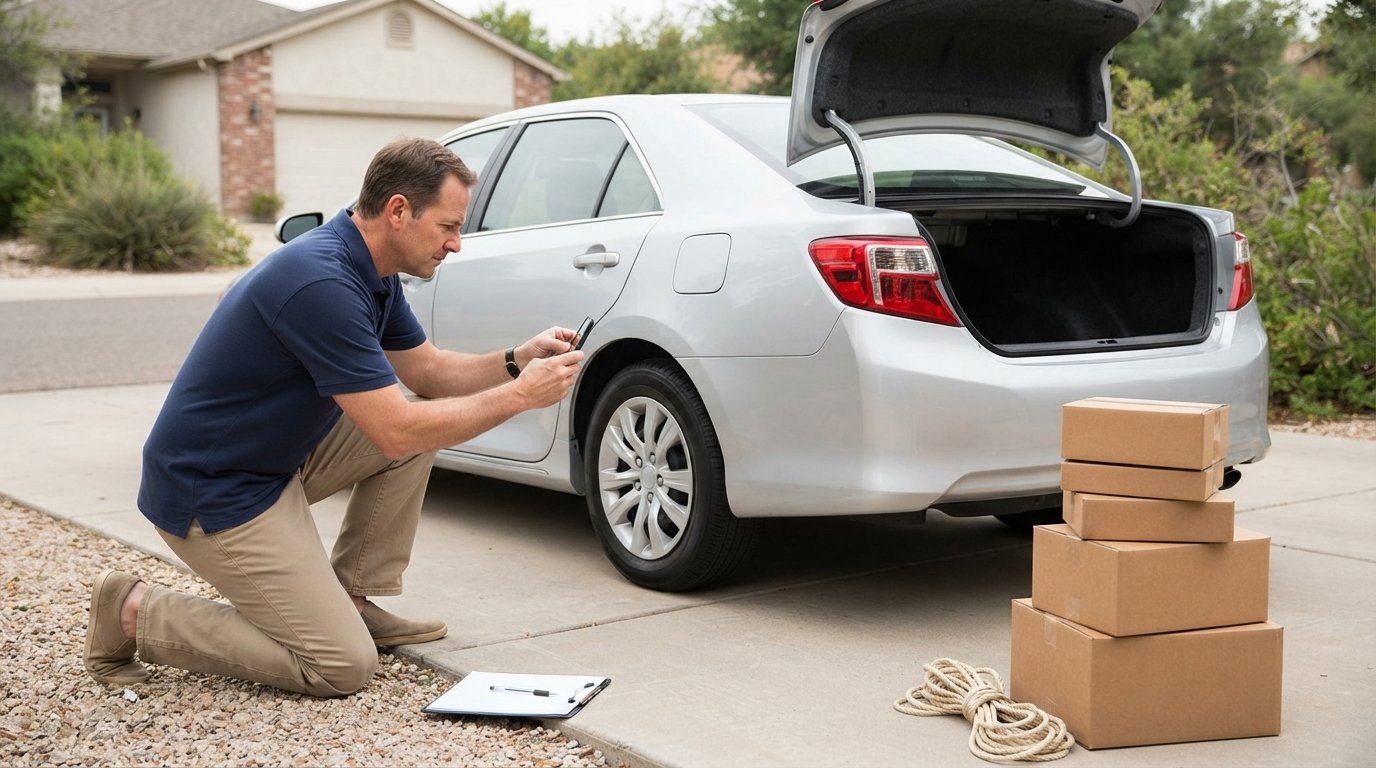
Once your car is clean, walk around it with your phone or camera and take detailed photos or videos. Capture every angle, including the roof, bumpers, side mirrors, and door edges. Zoom in on any scratches, dents, chips, or rust spots, and photograph the odometer reading. These images serve as your baseline evidence if you need to file a claim later.
At pickup, the driver will perform a similar inspection and note any damage on the bill of lading. Compare their notes with your photos, and do not sign anything until you agree on the condition. If the driver misses a scratch, point it out and ask them to add it to the report. A few extra minutes here can save you hundreds of dollars in disputed repairs.
Step 5: Remove Personal Belongings
This is the most common mistake people make when preparing a car for transport. Personal items are not covered by the carrier's insurance, and most companies explicitly prohibit them in the vehicle. Beyond the risk of theft or damage, loose items can shift during transit and cause internal damage to the car. Even small objects like phone chargers or sunglasses can become projectiles in a sudden stop.
Empty the glove box, center console, door pockets, and trunk. Do not forget items under the seats or in the spare tire compartment. If you need to store extra belongings, consider shipping them separately or using a portable storage container. The only exception is a spare tire, jack, and basic tools that are part of the vehicle's original equipment.
Step 6: Disable Toll Passes and Remove Electronic Devices
Toll passes, like E-ZPass or FasTrak, are linked to your license plate and billing account. If you leave one in the car, it may trigger charges every time the transport truck passes through a toll booth. These fees can add up quickly, and disputing them with the toll agency is a headache you do not need. Remove the toll pass and any parking permits or garage access cards.
Similarly, remove all electronic devices, including GPS units, dash cams, and radar detectors. Not only are these valuable items that could tempt thieves, but some carriers also prohibit them because they can record the driver or interfere with the truck's electronics. Wipe any personal data from the car's infotainment system, such as saved addresses or paired phones, and reset it to factory settings if possible.
Step 7: Perform Mechanical Checks
Your car does not need to be in perfect mechanical condition, but it must be safe to drive onto and off the transport truck. The carrier will not accept a vehicle that cannot move under its own power unless you pay extra for a winch or flatbed. Before pickup, check the following:
- Battery: Ensure it is fully charged and the terminals are clean. If your car has a remote start or alarm, disable the alarm to prevent it from draining the battery during transit.
- Fluids: Top off the engine oil, coolant, brake fluid, and windshield washer fluid. Check for any leaks that could stain the truck or cause a safety issue.
- Tires: Inflate all tires to the recommended pressure, including the spare, and inspect for excessive wear or bulges. A flat tire can make loading impossible.
- Brakes: Test the brakes to ensure they respond properly. A car with faulty brakes is a liability for the driver.
- Fuel: Keep the tank about a quarter full. This is enough for loading and unloading without adding unnecessary weight that reduces fuel efficiency for the transport truck.
If your car has any mechanical issues, disclose them to the carrier in advance. You may need to arrange for a tow truck or special equipment, which will add to the cost but is better than a last-minute cancellation.
Step 8: Secure Loose Parts and Accessories
Windshield wipers, antennas, and side mirrors can be damaged during transport if they are not secured. Fold in the side mirrors if they are manually adjustable, and remove any aftermarket spoilers or roof racks. If you have a soft-top convertible, ensure the top is fully closed and latched. For hardtops, check that all latches and locks are secure.
If your car has a custom exhaust, low-profile tires, or other modifications that reduce ground clearance, measure the clearance and inform the carrier. Some trucks have steep ramps, and a car that is too low can scrape or get stuck. The driver may need to use extra ramps or adjust the loading angle, which is easier to plan ahead of time.
Step 9: Disable the Alarm and Parking Brake
A sensitive car alarm can be triggered by the vibrations of the transport truck, draining the battery and annoying the driver. Turn off the alarm system if possible, or at least set it to silent mode. If your car has a factory alarm that cannot be disabled, let the driver know so they can take precautions.
Leave the parking brake off and place the transmission in park (or first gear for a manual). The carrier will use wheel chocks and straps to secure the car, and a engaged parking brake can interfere with the tying-down process. If the brake is left on, the wheels cannot rotate freely, which puts unnecessary stress on the suspension and brakes during transit.
Step 10: Prepare for Pickup Day
On the day of pickup, arrive early and be flexible. Carriers often run tight schedules, and weather or traffic can cause delays. Have your keys ready, and make sure the car is accessible. If you live in a gated community or a narrow street, provide clear directions and a contact number.
When the driver arrives, walk around the car together and perform a final inspection. Note the odometer reading and sign the bill of lading only after you are satisfied with the condition report. Keep a copy of the signed document, as it is your proof of the vehicle's condition at pickup. The driver should give you a pickup time window and an estimated delivery date, but be aware that these are not guaranteed.
What to Do After Delivery
Once your car arrives at its destination, inspect it immediately before signing the delivery receipt. Compare the condition to your pre-transport photos and the bill of lading. Look for new scratches, dents, or mechanical issues, and test drive the car briefly if possible. If you notice any damage, note it on the delivery receipt and take photos right away. Report the issue to the carrier within 24 hours, and file a claim with their insurance if necessary.
If everything looks good, thank the driver and keep all paperwork for your records. You may also want to reset your toll pass and reprogram your infotainment system once you are back behind the wheel.
Final Thoughts
Preparing your car for transport does not have to be stressful. By following this checklist, you protect your investment, avoid common pitfalls, and ensure a smooth handoff to the carrier. The key is to start early, document everything, and communicate openly with the transport company. If you are still looking for a reliable car transport provider, consider using a service like FreeQuotes.Contractors to connect with vetted carriers and compare free quotes. With the right preparation and a trusted partner, your car will arrive at its destination ready for the road ahead.