
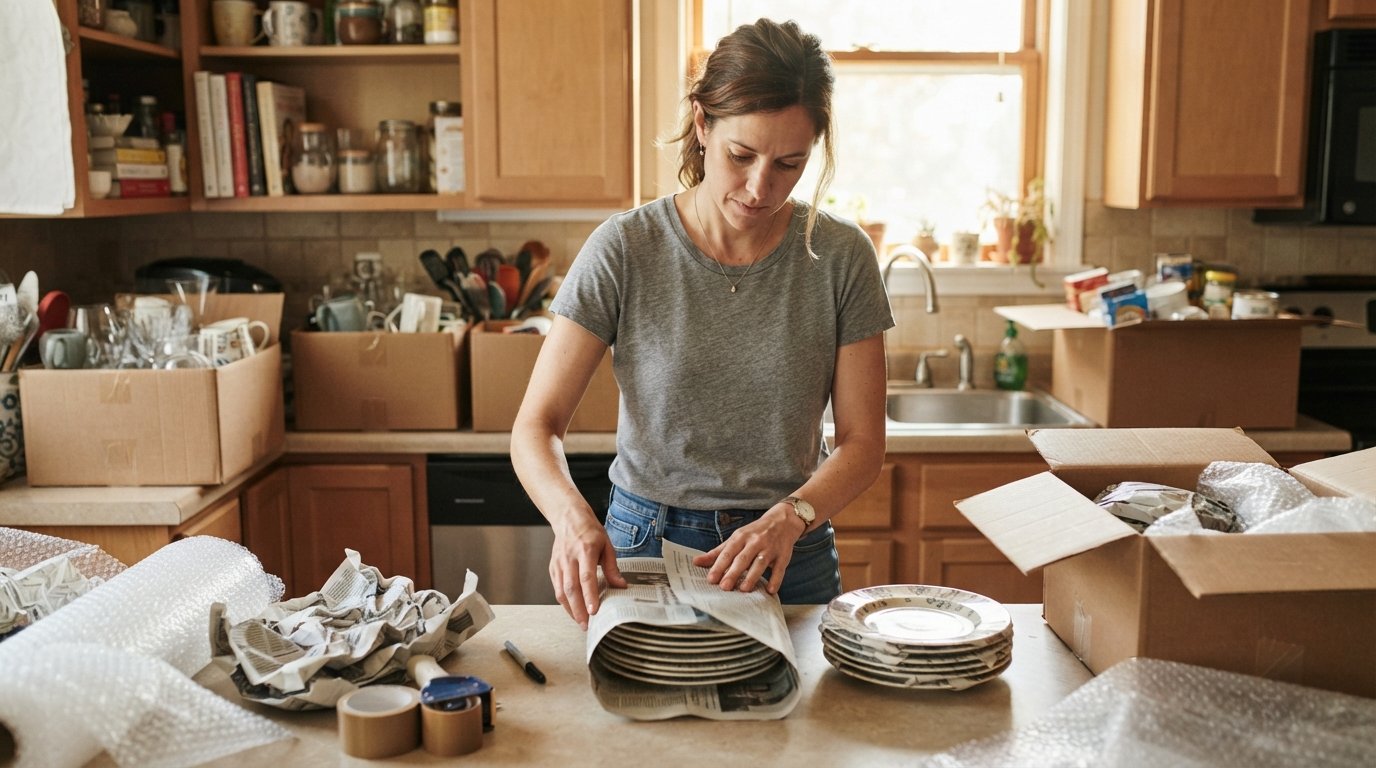
Packing an Apartment Kitchen in One Day: A Pro Guide
Packing an apartment kitchen in one day is possible with the right sequence. Learn how to box up your kitchen fast while keeping fragile items safe.

By Eric Thompson
Your lease ends in 48 hours, the moving truck is booked, and your kitchen still looks like a gourmet cooking show mid-episode. The clock is ticking, and suddenly packing an apartment kitchen in one day feels like an impossible mission. Here is the good news: it is not. With the right sequence, a clear plan, and a few professional shortcuts, you can box up an entire apartment kitchen in a single day without breaking a single wine glass or losing your sanity. This guide walks you through every stage, from the first drawer you open to the last box you seal, so you can finish strong and start your next chapter organized.
Why the Kitchen Is the Hardest Room to Pack Fast
The kitchen is not just the room with the most items. It is the room with the most fragile, awkward, and oddly shaped items. You have glassware, ceramics, appliances, pantry goods, cleaning supplies, and a junk drawer that defies all known laws of physics. Kitchens also contain the highest concentration of breakables in any apartment, which means every box requires padding, layering, and careful placement.
On top of that, kitchens are high-traffic zones. You still need to eat, make coffee, and find a spoon for breakfast, so you cannot simply seal everything on day one and pretend the room no longer exists. The key is to pack in a deliberate order that keeps essentials accessible until the very end while clearing out the bulk of the room quickly.
Understanding this dual challenge (volume plus fragility) is what separates a chaotic day of packing from a smooth one. When you plan around those two realities, the rest of the process becomes a straightforward checklist rather than a frantic scramble.
Pre-Day Preparation: What to Do the Night Before
The difference between a stressful packing day and a manageable one is almost always decided the night before. You do not need to pack anything the evening prior, but you do need to set yourself up for speed. Start by gathering all your supplies in one place so you are not hunting for tape while holding a stack of plates.
Here is what you should have ready before the day begins:
- Small, medium, and large moving boxes (small boxes for heavy items, large for lightweight items)
- Bubble wrap, packing paper, or clean newsprint for wrapping
- Packing tape and a tape dispenser
- Permanent markers and labels
- Zip-top bags for small parts and hardware
- A cooler or bin for perishable food
- A dedicated "first night" box for essentials
If you are short on supplies or simply do not want to spend your evening sourcing boxes, consider whether professional packing services might be a better use of your time. Many moving companies offer packing assistance, and you can review a moving house packing checklist to make sure you have covered every room before the truck arrives.
Beyond supplies, do a quick purge the night before. Walk through your kitchen and pull out anything you know you will not take: expired spices, half-empty condiments, broken gadgets, and duplicate utensils. Every item you remove now is one less item you have to wrap, box, and carry tomorrow. Even 20 minutes of decluttering can save you an hour of packing.
Your Hour-by-Hour Game Plan for Packing Day
A one-day kitchen pack works best when you follow a logical sequence: start with the items you use least, end with the items you need most. This keeps your kitchen functional for as long as possible while steadily reducing the volume of things around you. The schedule below is a framework, not a rigid rule. Adjust the timing based on the size of your kitchen and how much help you have.
Morning: Clear the Perimeter and the Pantry
Begin with the pantry, refrigerator, and freezer. These areas hold the most items that cannot sit in boxes for long, and clearing them early gives you momentum. Toss expired food, donate unopened non-perishables you will not move, and pack shelf-stable items into medium boxes lined with paper. Group similar items together, such as baking supplies in one box and canned goods in another, so unpacking in your new kitchen is faster.
For the refrigerator, plan to empty it completely by the end of the day. Perishables should go into a cooler or be consumed before the move. Defrost the freezer if your move requires it, and wipe down shelves so the appliance is ready for transport. Do not forget to check the back of the pantry and the top shelves, where forgotten items tend to accumulate.
Midday: Cabinets, Drawers, and Appliances
By midday, you should be ready to tackle cabinets and drawers. Work one cabinet at a time and avoid jumping between sections, because bouncing around creates confusion and slows you down. For each cabinet, remove items, wrap breakables, and pack them snugly so nothing shifts during the move.
Drawers deserve special attention. The fastest approach is to remove the entire drawer, wrap it in plastic wrap to keep contents in place, and tape it shut. This works well for utensil drawers and anything lightweight. For heavier drawers, empty the contents into small boxes instead. Label each box clearly with the room and a brief description, such as "Kitchen: Utensils" or "Kitchen: Knives."
Small appliances like blenders, toasters, and coffee makers should be cleaned, dried, and packed with their cords secured. If you still have the original boxes, use them. If not, wrap each appliance in bubble wrap and place it in a box with padding on all sides. Take a photo of any appliance with complex parts before disassembling it, so reassembly in your new home is straightforward.
Afternoon: Fragile Items and Glassware
Glassware, plates, and ceramics are the most time-consuming items to pack, so schedule them for the afternoon when you have established a rhythm. Line the bottom of each box with crumpled paper or bubble wrap, then wrap each item individually. Stand plates on their edges rather than laying them flat, because stacked plates are more likely to crack under pressure.
For wine glasses and stemware, use cell dividers or wrap each glass in paper and place it upside down in the box. Never nest glasses directly inside one another without padding, because the friction and pressure can cause cracks. Mark every fragile box with the word "FRAGILE" on all sides and indicate which way is up. If you are unsure about the best wrapping technique for a specific item, a quick search for packing tips can help you avoid costly mistakes.
If the thought of wrapping dozens of wine glasses and ceramic bowls feels overwhelming, remember that professional packers do this every day. You can request a free quote from vetted local pros through platforms like FreeQuotes.Contractors, which connects homeowners with pre-screened contractors and service providers, so you can compare options without making dozens of phone calls. Sometimes paying for an extra pair of trained hands is the smartest move you make all week.
Late Afternoon: Cleaning Supplies, Hardware, and the Junk Drawer
Cleaning supplies, hardware, and miscellaneous items are often overlooked until the last minute, which is why they should have a dedicated slot in your schedule. Pack cleaning products separately from food, and make sure all lids are tightly sealed. Place them in a plastic bin or line a box with a garbage bag to contain any leaks during transit.
The junk drawer is its own project. Empty it completely, sort the contents, and decide what is worth keeping. Small items like rubber bands, batteries, and twist ties can go into zip-top bags, while tools and hardware should be grouped by type. Label the bag or box clearly, because you will almost certainly need a screwdriver or a set of Allen wrenches within the first week of unpacking.
Packing Techniques That Save Time and Prevent Damage
Speed without care leads to broken dishes and shattered glass, so it is worth mastering a few core techniques that make packing faster and safer at the same time. These methods are used by professional movers because they work.
First, always pack heavy items in small boxes and light items in large boxes. A large box filled with cans or cookware becomes dangerously heavy and difficult to carry, while a small box filled with paper towels wastes space. Match the box size to the weight of the contents.
Second, fill every gap. Empty spaces inside a box allow items to shift, which is the leading cause of breakage during a move. Use crumpled paper, towels, or bubble wrap to fill voids and create a snug fit. If you can shake the box and hear movement, add more padding.
Third, label everything on multiple sides. Write the room, a brief description of the contents, and a fragility warning if needed. This simple habit saves hours during unpacking and helps movers place boxes in the right area of your new home. If you are hiring professional movers, clear labeling also reduces the risk of boxes being stacked incorrectly or placed in the wrong room.
What to Keep Out: The First Night Box
One of the most practical things you can do during a one-day kitchen pack is set aside a first night box. This is a small container with everything you will need for your first 24 hours in the new place, so you are not digging through 15 boxes just to make coffee in the morning.
A well-stocked first night box includes paper plates, plastic utensils, a few mugs, instant coffee or tea, paper towels, dish soap, a sponge, a small pot or pan, and basic snacks. Add a roll of toilet paper, a phone charger, and any medications you take regularly. Keep this box with you rather than loading it onto the truck, so it is immediately accessible when you arrive.
This small step transforms your first night from chaotic to comfortable. It also means you can unpack the kitchen at a reasonable pace over the following days instead of frantically searching for a can opener at midnight.
When to Call in Professional Help
Packing an apartment kitchen in one day is absolutely achievable on your own, but it is also physically demanding and time-consuming. If you are working with a tight deadline, have a large kitchen, or simply want to protect high-value items like china, crystal, or professional cookware, hiring professional packers is a smart investment.
Professional packing services typically include labor, materials, and careful handling of fragile items. They can often complete a kitchen pack in a fraction of the time it would take you, and they carry insurance that protects your belongings. If you are also planning a longer move, combining packing services with transportation can simplify your entire relocation.
To find trusted professionals in your area, you can request a free, no-obligation quote from moving companies that offer packing and unpacking services. Comparing multiple quotes helps you understand pricing and choose a provider that fits your budget and timeline. Whether you hire help or go it alone, the key is to start early, follow a sequence, and stay organized.
With the right plan in place, packing an apartment kitchen in one day is not just possible, it can be the most satisfying part of your move. You will close the last box, look at a clean counter, and know that your next kitchen is already waiting for you, one labeled box at a time.