
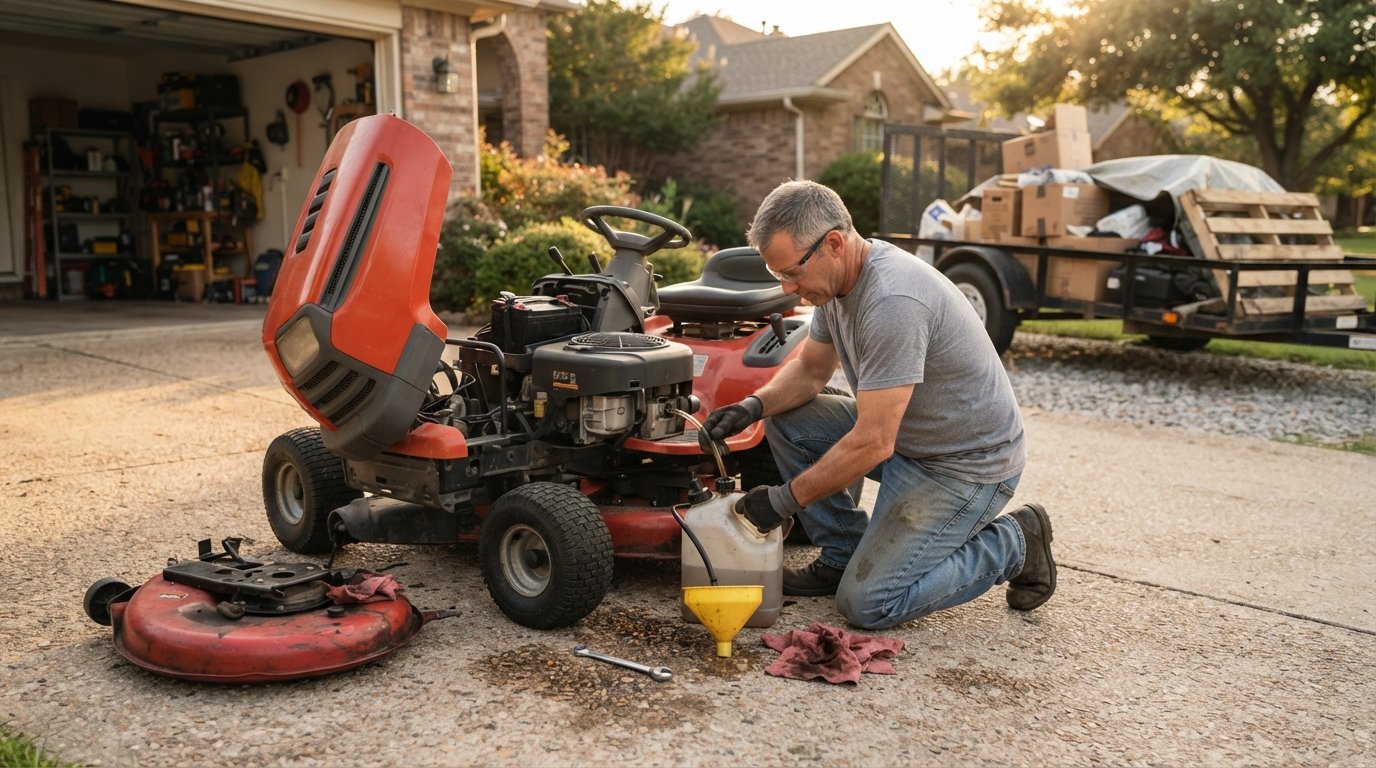
How to Prepare a Riding Mower for Long Distance Shipping
Proper preparation prevents damage and delays when shipping a riding mower. Call (833)-484-8675 for expert moving advice.

By Tyler Scott
Shipping a riding mower across the country is not as simple as rolling it onto a trailer and hoping for the best. These machines are heavy, full of fluids that can leak or cause fire hazards, and expensive to replace if damaged. Whether you are moving to a new home, selling a mower to a buyer in another state, or transporting equipment for a seasonal business, proper preparation protects your investment and keeps you compliant with transport regulations. This guide walks you through every step, from draining fluids to choosing the right shipping method. If you are also relocating other household items, you may want to read our guide on long distance shipping services for household items to coordinate the entire move.
Why Proper Preparation Matters for Long Distance Mower Shipping
A riding mower is not a sealed box. It has a fuel tank, a battery, hydraulic fluid, engine oil, and often a deck that can shift during transit. When a mower travels hundreds or thousands of miles on a truck, vibration and temperature changes can cause leaks, electrical shorts, or structural damage. Carriers also have strict rules about hazardous materials. Gasoline and oil are considered hazardous, and many freight companies will refuse a mower that still contains fuel. Even if they accept it, a leak can ruin other cargo and leave you liable for cleanup costs.
Beyond safety and compliance, proper preparation reduces the risk of mechanical damage. The deck can bounce and bend if not secured. The battery can tip and spill acid. Tires can lose pressure or develop flat spots. By taking the time to drain, clean, and secure your mower, you arrive with a machine that starts on the first turn of the key. This is especially important if you are shipping a mower you plan to use immediately after arrival. A little preparation now saves hundreds of dollars in repairs later.
Finally, preparation affects your shipping cost. Carriers often charge more for items that require special handling or cleaning. A mower that is free of fuel and dirt is easier to load and less likely to be flagged for inspection. Some freight brokers will even refuse a mower that smells of gasoline. By following the steps below, you make your shipment straightforward and affordable.
Step-by-Step Preparation Before Shipping
The preparation process can be broken into three phases: draining and cleaning, disconnecting and securing, and documenting and packing. Each phase is critical. Skipping one can lead to delays, damage, or extra fees. The entire process takes about two to three hours for a typical riding mower, though larger zero-turn models may take longer.
Phase 1: Drain All Fluids and Clean the Mower
Fluids are the number one reason mower shipments get rejected or delayed. Gasoline is flammable, oil can leak, and hydraulic fluid is corrosive to paint and wiring. Start by running the mower until the engine is warm, which helps old fuel and oil flow more easily. Then turn it off and let it cool slightly before draining. You will need a drain pan, a funnel, and approved containers for each fluid type.
First, drain the fuel tank. Use a siphon pump or remove the fuel line and let it drain into a gas can. Once the tank is empty, start the engine and let it run until it stalls. This burns any remaining fuel in the carburetor and fuel lines. For fuel-injected models, you may need to disconnect the fuel pump and run it dry. Next, drain the engine oil. Remove the drain plug and let the oil flow into a pan. Replace the plug and dispose of the oil at a recycling center. If your mower has a hydraulic transmission, drain the hydraulic fluid as well. Check your owner's manual for the exact procedure, as some models require special steps to avoid air pockets.
After draining, clean the mower thoroughly. Use a pressure washer or a garden hose to remove grass clippings, dirt, and grease. Pay special attention to the underside of the deck, where debris can hide and attract pests. A clean mower is easier to inspect and less likely to be rejected by a carrier. Let it dry completely before moving to the next phase.
Here is a quick checklist for the draining and cleaning phase:
- Drain fuel tank and run engine until it stalls.
- Drain engine oil and hydraulic fluid (if applicable).
- Remove battery and clean terminals.
- Pressure wash or hose down the entire mower, including the deck.
- Allow all parts to dry completely before proceeding.
Phase 2: Disconnect the Battery and Secure Loose Parts
The battery is a common source of damage during shipping. It is heavy, can leak acid, and may short-circuit if the terminals touch metal. Always remove the battery before shipping. Disconnect the negative terminal first, then the positive. Remove the battery and store it separately in a plastic battery box. If you are shipping the mower in an enclosed trailer, you can leave the battery in place but must disconnect both cables and tape the terminals. However, for long distance shipping, removal is safer.
Next, secure any loose parts. The mower deck should be raised to its highest position and locked. If the deck can be removed, consider doing so and shipping it separately on a pallet. This reduces the overall height and makes the mower easier to load. Remove the key from the ignition and tie it to the steering wheel or keep it with you. Fold down or remove the grass catcher, discharge chute, and any other attachments. These items can be boxed and placed on the mower's seat or floorboard.
Check the tires. Inflate them to the recommended pressure, but do not overinflate. For long distance shipping, you may want to deflate them slightly to absorb vibration. However, if the mower will be rolled on and off a truck, keep them inflated enough to support the weight. Use heavy-duty straps to secure the steering wheel and any moving parts. The goal is to prevent anything from shifting during transit.
Phase 3: Document the Condition and Pack for Protection
Before you load the mower, take photos and videos of its condition. Capture the overall machine, the engine, the deck, and any existing scratches or dents. This documentation is essential if you need to file an insurance claim. Note the model number, serial number, and any aftermarket accessories. Keep a copy of these records with your shipping documents.
If you are shipping the mower on an open trailer, wrap it in a heavy-duty tarp or shrink wrap. Pay special attention to the engine and control panel. Use foam or cardboard to protect the hood and seat. If you are using a freight service, they may require the mower to be crated. In that case, build a wooden crate around the mower or use a pallet with a custom frame. Secure the mower to the pallet with heavy-duty straps or bolts. The crate should be strong enough to withstand stacking and movement.
For international shipping, you will need additional documentation, including a commercial invoice and a packing list. Some countries require a fumigation certificate for wooden crates. Always check with your carrier or a customs broker before shipping. If you are moving other household goods along with your mower, you may want to explore contractor and moving resources for additional planning tools.
Choosing the Right Shipping Method for Your Riding Mower
There are several ways to ship a riding mower, each with its own advantages and drawbacks. The best choice depends on your budget, timeline, and whether you need door-to-door service. The most common methods are freight carriers, dedicated auto transport, and moving companies that handle special items.
Freight carriers (such as LTL or full truckload) are often the most affordable for long distance shipping. You drop the mower off at a terminal or have it picked up, and it travels on a truck with other freight. However, you are responsible for crating and securing the mower. LTL shipments may be transferred between trucks, increasing the risk of damage. Full truckload is more expensive but reduces handling. Dedicated auto transport is designed for vehicles, including riding mowers. These carriers use specialized trailers with ramps and tie-downs. They are more expensive but offer door-to-door service and professional loading. This is a good option if you are shipping a high-value mower or do not want to crate it yourself.
Moving companies that handle special items can also ship a riding mower as part of a household move. They will often pack and load the mower for you, but you must still drain fluids and remove the battery. This is convenient if you are moving an entire home. However, not all moving companies accept mowers, so ask upfront. For international moves, you will need a company experienced in customs and ocean freight. Always get multiple quotes and compare insurance coverage. A reputable carrier will offer a guarantee and 24/7 support.
To summarize, here are the key factors to consider when choosing a shipping method:
- Budget: Freight is cheapest, dedicated transport is mid-range, moving companies are often highest.
- Convenience: Door-to-door service costs more but saves you the hassle of drop-off and pick-up.
- Risk: Less handling means less chance of damage. Full truckload and dedicated transport are safer than LTL.
- Documentation: International shipping requires customs paperwork. Domestic shipping is simpler.
Common Mistakes to Avoid When Shipping a Riding Mower
Even experienced shippers make mistakes that lead to damage or extra fees. One of the most common is leaving fuel in the tank. As mentioned, this is a fire hazard and violates most carrier policies. Another mistake is failing to remove the battery. A loose battery can tip over, leak acid, and corrode the mower's frame. Always disconnect and remove the battery, or at least tape the terminals and secure it in place.
Another frequent error is not securing the deck. The deck can drop or swing during transit, bending the blades or damaging the spindles. Always raise the deck to the highest position and lock it. If possible, remove the deck and ship it separately. Also, do not forget to remove the key. A mower that starts accidentally during loading can cause serious injury. Keep the key with you and never leave it in the ignition.
Finally, do not underestimate the importance of insurance. Many carriers offer limited liability coverage, which may not cover the full value of your mower. Purchase additional insurance if needed. Document the condition before shipping and take photos of the loaded mower. If damage occurs, you will have evidence to support your claim. Avoid carriers that do not provide a written estimate or refuse to show proof of insurance.
Final Steps Before You Ship
Once your mower is drained, cleaned, and secured, you are almost ready to ship. The final steps are to confirm the pickup or drop-off details, prepare the paperwork, and do a last-minute inspection. Confirm the date and time with your carrier. If you are dropping off at a terminal, ask about any fees for storage or late pickup. If you are using a moving company, ensure they have the correct address and contact information.
Prepare a folder with the bill of lading, insurance certificate, photos, and any customs documents. Keep a copy for yourself and give a copy to the driver. Do not ship original documents; use copies. Label the mower with your name, destination address, and phone number. If you are shipping multiple items, number each piece and keep a master list. This helps prevent loss or misdelivery.
On shipping day, inspect the mower one last time. Check that all fluids are drained, the battery is removed, and the deck is secure. Verify that the crate or pallet is sturdy and that the straps are tight. Watch the loading process if possible. If you see the driver mishandling the mower, speak up. Once the mower is loaded, get a receipt and confirm the expected delivery date. With proper preparation, your riding mower will arrive ready to work, not ready for the repair shop.