
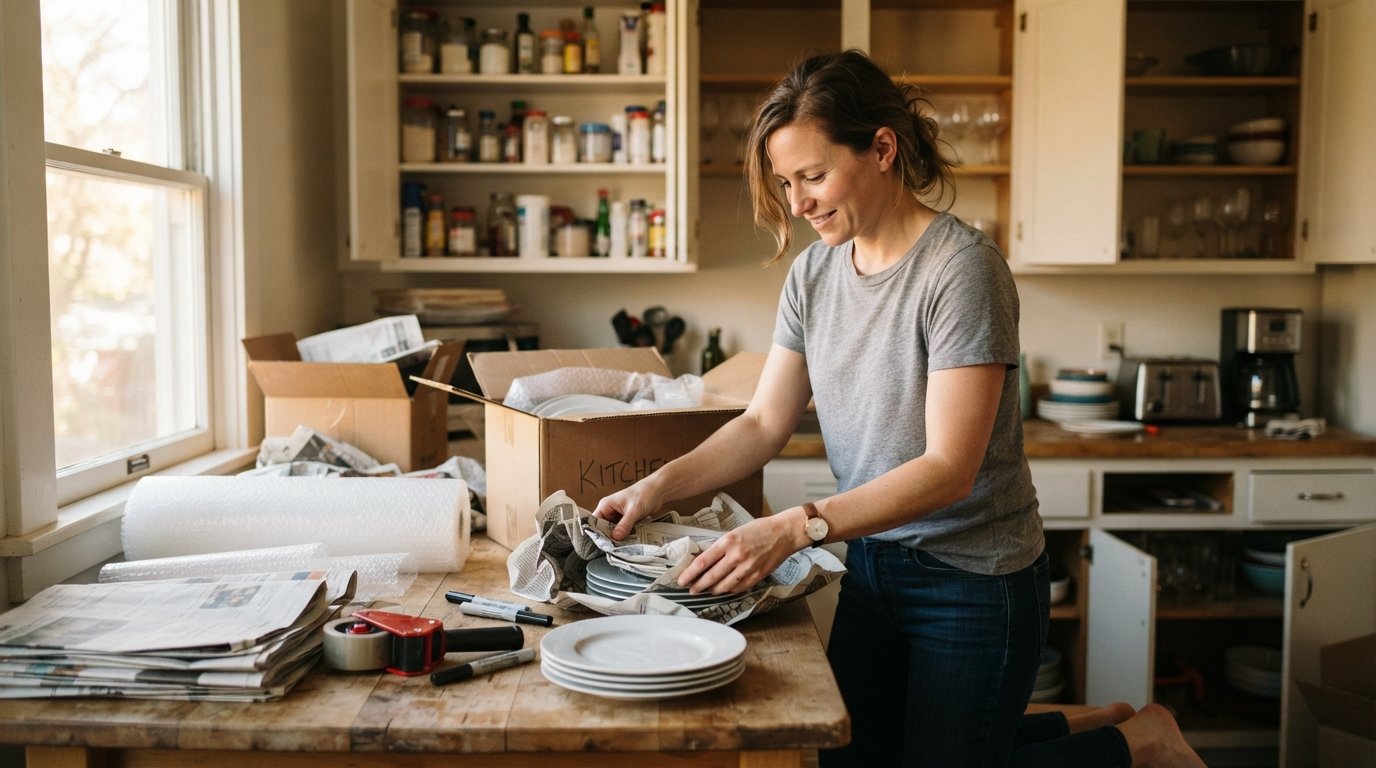
How to Pack a Kitchen for Moving: Dishes, Appliances, Pantry
Master how to pack a kitchen for moving dishes appliances and pantry with our labeled box system that prevents breakage. Call (833)-484-8675 for expert packing help.

Your kitchen is the hardest room to pack. It holds the most fragile items, the most oddly shaped objects, and a surprising amount of food you forgot was there. According to moving industry surveys, the kitchen accounts for nearly 30 percent of all packing time in a typical home move, and it is also the room where damage claims are most common. If you are planning a move and wondering how to pack a kitchen for moving dishes appliances and pantry items without turning your life into a cardboard maze, this guide gives you a clear, step-by-step system that protects your belongings and makes unpacking fast. We will cover the right materials, the order of operations, and the specific techniques that professional packers use for glassware, small appliances, and open food containers. By the end, you will have a labeled kitchen box plan that lets you cook a real meal within hours of arriving at your new place.
Start with a Kitchen Packing Plan and the Right Materials
Before you wrap a single plate, spend 30 minutes planning. The kitchen is a high-density room, meaning you have many items in a small space, and a disorganized approach leads to broken dishes and lost time. A good kitchen packing plan starts with a clear timeline: pack the items you use least first (specialty bakeware, holiday dishes, the fondue set), then work toward daily essentials. Aim to pack the kitchen over three to five sessions rather than all at once, and leave the last session for the day before the move.
Gather the right materials in one place so you are not hunting for tape mid-box. For a standard kitchen, you will need more than you think: heavy-duty small boxes for dishes and pantry items, medium boxes for appliances, and a few large boxes for bulky but light items like plastic storage containers. You also need packing paper (unprinted newsprint is best because newspaper ink can transfer to dishes), bubble wrap, packing tape, a marker, and dish dividers or cell kits for plates and glasses. If you are hiring professional packers, ask whether materials are included; many full-service moving companies supply boxes, paper, and tape as part of the job, and you can compare that cost against doing it yourself in our guide on packers and movers cost complete pricing guide.
Set up a packing station on a sturdy table or the floor with a clear zone for wrapping, a zone for filling boxes, and a zone for sealed and labeled boxes. Keep a trash bag nearby for expired food and worn-out items. This simple workflow prevents the kitchen from becoming a pile of half-filled boxes, which is the number one cause of packing fatigue.
How to Pack Dishes, Glasses, and Stemware Without Breakage
Dishes and glassware are the most fragile items in your kitchen, and they require individual wrapping and vertical packing. The goal is to prevent items from touching each other and to avoid stacking weight directly on flat surfaces. Start with a heavy-duty small box lined with crumpled packing paper about two inches deep. For plates, wrap each one individually in packing paper, then stack them on edge (like records in a crate), not flat. Stacking plates flat puts pressure on the bottom plates and causes cracks; vertical stacking distributes weight to the edges. Place a sheet of paper or cardboard between every two or three plates, and fill any gaps with crumpled paper so nothing shifts.
Bowls and mugs follow the same principle: wrap each piece, then nest bowls with a piece of paper between them, and pack mugs upright with rolled paper inside each cup. For stemware and wine glasses, use cell dividers or individual cardboard sleeves if you have them. If not, wrap each glass generously in packing paper, then place it upright in the box with plenty of cushioning between glasses. Never lay stemware on its side, because the stem is the weakest point and pressure from the box side can snap it. Mark the box "FRAGILE: GLASS" on the top and sides, and keep these boxes small so they are easy to carry.
For a faster method, use a dish pack box with built-in dividers. These boxes have slots that hold plates vertically and separate compartments for glasses, and they are worth the small extra cost for any kitchen with more than a basic dish set. When the box is full, fill the top with crumpled paper, close the flaps, and tape the seams. Give the box a gentle shake: if anything moves, open it and add more paper. A well-packed dish box should feel solid and make no sound when shaken.
Packing Small Appliances: Disassemble, Protect, and Label
Small appliances like blenders, food processors, coffee makers, and stand mixers are bulky, heavy, and full of fragile parts. The best approach is to disassemble them first. Remove blades, bowls, carafes, and attachments, and wrap each part separately. Tape the power cord to the appliance with painter's tape (not duct tape, which leaves residue) so it does not dangle and get damaged. For a stand mixer, remove the bowl and attachments, and pack the mixer body in its original box if you still have it. If not, wrap the body in bubble wrap and place it in a medium box with crumpled paper around it.
For items with glass carafes or bowls, treat those parts like glassware: wrap them individually and pack them upright in a separate small box or in the same box with a rigid divider. Never pack a heavy appliance on top of fragile items, and never pack appliances in a box with dishes. Keep appliance boxes separate and label them by the room they belong to, such as "Kitchen: Coffee Maker." If you are moving a large appliance like a refrigerator or stove, that is usually a job for professional movers, and you can ask for specialized handling when you request quotes through Moving.Homes.
Before packing any appliance, clean it thoroughly and let it dry completely. Food residue can attract pests and cause odors during the move, and moisture can damage electrical components. For a coffee maker, run a descaling cycle and dry the water tank. For a blender, wash and dry the jar and blades. Once everything is clean and dry, pack the appliance and its parts together in one box so unpacking is simple. Label the box with the appliance name and "FRAGILE" if it contains glass or ceramic parts.
Managing Pantry Food, Perishables, and Open Containers
The pantry is often the most overlooked part of a kitchen move, and it is also where you can save the most money by planning ahead. Start by sorting your pantry into three categories: items to move, items to donate or give away, and items to throw out. Check expiration dates and discard anything expired or close to it. For open containers of flour, sugar, rice, and cereal, transfer the contents to sealed plastic bags or containers, or simply throw them out if they are nearly empty. Moving open food is messy and often not worth the space it takes up.
Perishables and refrigerated items require special handling. Most moving companies will not transport perishable food, and food safety rules say that refrigerated items should not be without refrigeration for more than two hours. Plan to eat down your refrigerator and freezer in the two weeks before the move, and give away what you cannot finish. On moving day, pack a cooler with essentials for the trip (snacks, drinks, and any food you will eat on the road), and leave the rest behind. For non-perishable pantry items, pack them in small, sturdy boxes by category (baking supplies, canned goods, spices) and seal each container with tape or a plastic bag to prevent spills.
Spices and liquids need extra care. Tape the lids of spice jars and liquid containers (oil, vinegar, sauces) with painter's tape, then place them in a plastic bag before packing. Pack liquids upright and separate from dry goods, and label the box "LIQUIDS: KEEP UPRIGHT." For heavy canned goods, use a small box and place it on the bottom of the stack in the moving truck. If you are moving long distance and have a lot of pantry food, consider donating the excess to a local food bank rather than paying to move it. This reduces weight, saves space, and helps your community.
The Labeled Kitchen Box System for Fast Unpacking
A kitchen move is only as good as your labeling system, because the goal is not just to pack but to unpack efficiently. Use a simple labeling system that includes the room, the contents, and a priority number. For example, label a box "Kitchen: Dishes, Priority 1" or "Kitchen: Pantry, Priority 3." Priority 1 boxes contain the items you need first: plates, glasses, basic utensils, a pot, a pan, and coffee supplies. Priority 2 boxes contain everyday pantry items and small appliances. Priority 3 boxes contain specialty items, holiday dishes, and backup pantry goods.
Use a marker to write on the top and at least one side of each box, and keep a master list on your phone or a notebook. Number each box and write a brief inventory, such as "Box 12: 6 plates, 4 mugs, 1 serving bowl." This makes it easy to find items later and helps you confirm nothing is missing. Color-coding with tape or stickers can also help: use one color for Priority 1, another for Priority 2, and a third for Priority 3. When you arrive at your new home, ask the movers to place all Priority 1 kitchen boxes in the kitchen first, so you can set up a functional cooking space right away.
For added efficiency, pack a separate "First Night Kitchen Kit" box that travels with you, not in the moving truck. This box should include paper plates, plastic utensils, a few basic cooking tools, a roll of paper towels, dish soap, a sponge, and a small pot and pan. Having this kit means you can make a simple meal and clean up without digging through dozens of boxes. If you are using professional packing services, tell them which boxes you want loaded last so they are the first to come off the truck, and label those boxes clearly with "LOAD LAST." For more help planning the logistics of your move, you can explore renewable energy and home resources at NewSolarQuotes, which offers independent educational guides for homeowners.
Final Checks Before the Truck Arrives
Once your kitchen is packed, do a final walkthrough to catch anything you missed. Open every cabinet and drawer, check the top shelves, and look behind appliances. Common forgotten items include the ice cube trays, the oven mitts, the spice rack, and the junk drawer contents. Pack a small "junk drawer" box and label it clearly, because you will need scissors, tape, and pens during the first week in your new home. Also, take photos of your packed boxes and their labels, which helps if you need to file a damage claim or locate a specific item.
Weigh or estimate the total number of kitchen boxes. A typical kitchen produces 15 to 25 boxes, depending on how many dishes and pantry items you have. If you are moving yourself, load the heaviest boxes (dishes, canned goods) on the bottom and lighter boxes on top. If you are hiring movers, show them the kitchen boxes and point out which ones are fragile. Professional movers are trained to handle fragile items, and many companies offer full packing services that include materials and labor. If you want to compare the cost of professional packing versus doing it yourself, our guide on packers and movers cost can help you budget accurately.
Finally, set aside a box or bag with cleaning supplies, a vacuum, and paper towels. You will need these to clean the old kitchen after the boxes are out and to wipe down shelves in the new kitchen before unpacking. Having these items accessible on moving day makes the transition smoother and helps you leave your old home in good condition. With a solid plan, the right materials, and a clear labeling system, packing your kitchen for a move does not have to be a source of stress. It can be a controlled, efficient process that protects your dishes, your appliances, and your pantry, and sets you up for a faster, easier unpacking experience in your new home.