
How to Move a Baby Grand Piano vs an Upright Piano
Moving a baby grand or upright piano safely requires different techniques. Call (833)-484-8675 for expert piano moving quotes and protect your instrument.

By Jason Adams
Moving a piano is never a casual task, but the difference between relocating a baby grand and an upright is enormous. A baby grand can weigh between 500 and 800 pounds, with a wide, awkward frame that demands careful disassembly and specialized equipment. An upright piano, while still heavy at 300 to 500 pounds, is more compact and easier to maneuver through tight spaces. Understanding these distinctions before you start can save you from injury, damage, and unexpected costs.
Whether you are moving across town or across the country, the approach you take for each type of piano will determine whether the instrument arrives in tune and intact or with a cracked soundboard and a hefty repair bill. This guide walks you through the key differences, the step-by-step processes, and the safety considerations that matter most for each piano style.
Key Differences Between Moving a Baby Grand and an Upright Piano
The most obvious difference is shape. A baby grand has a horizontal body with three legs, a lid, and a pedal assembly. An upright stands vertically against a wall. That shape difference dictates everything: how you lift it, how you secure it, and what tools you need. A baby grand must be partially disassembled (legs removed, lid secured) before it can be moved safely. An upright generally stays assembled but requires a piano dolly and straps to keep it stable.
Weight distribution also matters. Baby grands are heavier on the keyboard side due to the cast iron plate. Uprights are top-heavy, making them prone to tipping if not handled correctly. These nuances mean that a one-size-fits-all moving strategy will fail. You need different techniques for each.
Another critical factor is the environment. Baby grands are more sensitive to humidity and temperature changes because their soundboards are exposed horizontally. Uprights have a more enclosed design but still require climate-controlled conditions during transit. If you are planning a long-distance move, you should consider professional piano movers who specialize in these instruments. In our guide on cross country piano movers cost and safety, we explain how to vet carriers and protect your piano over hundreds of miles.
Pre-Move Preparation for Both Piano Types
Before you touch the piano, preparation is non-negotiable. Start by measuring every doorway, hallway, and stairwell along the route. For a baby grand, you will also need to measure the turn radius at corners. If the piano cannot fit through a tight spot even on its side, you may need to hire a crane or hoist service, which adds significant cost.
Next, gather the right materials. For either piano, you will need:
- Heavy-duty moving blankets and shrink wrap
- Piano skid board or heavy-duty dolly with straps
- Packing tape and furniture pads
- Work gloves and safety glasses
- At least two strong helpers (four for a baby grand)
For a baby grand, you will also need a set of piano leg covers and a tuning wrench if you plan to remove the legs. Many manufacturers recommend having a piano technician disassemble the instrument, but you can do it yourself with care. For an upright, a piano dolly with a strap is essential because the piano's weight sits high and can easily topple.
Clear the path completely. Remove rugs, toys, and any furniture that could trip you. Protect your floors with plywood or hardboard panels, especially if you have hardwood or tile. The last thing you want is a scratched floor on top of a damaged piano.
Step-by-Step: Moving a Baby Grand Piano
Moving a baby grand is a multi-stage process. Do not rush any step. Begin by closing and locking the lid. If the lid is removable, take it off and wrap it separately. Secure the lid with moving tape or straps so it does not fly open during transit. Next, remove the music desk and any loose items from the interior.
Now it is time to disassemble. Carefully tip the piano onto its side (keyboard side down) with the help of at least three people. Once on its side, unscrew the legs. Label each leg and its corresponding hardware in a bag. Remove the pedal assembly if it is detachable. Some baby grands have a lyre (pedal box) that unscrews easily; others require more effort. If you are unsure, consult a piano technician.
With the legs off, the piano becomes a flat, heavy slab. Slide a piano skid board underneath it. The skid board has wheels and a padded surface to protect the piano's finish. Strap the piano to the skid board securely. Now you can roll it to the door and lift it into the moving truck. Always lift with your legs, not your back, and keep the piano vertical or slightly tilted, never flat on its back for long periods.
Inside the truck, place the piano against a wall and secure it with heavy-duty straps. Use moving blankets to cushion any contact points. Do not stack anything on top of the piano. For long-distance moves, consider a climate-controlled truck to prevent warping.
Step-by-Step: Moving an Upright Piano
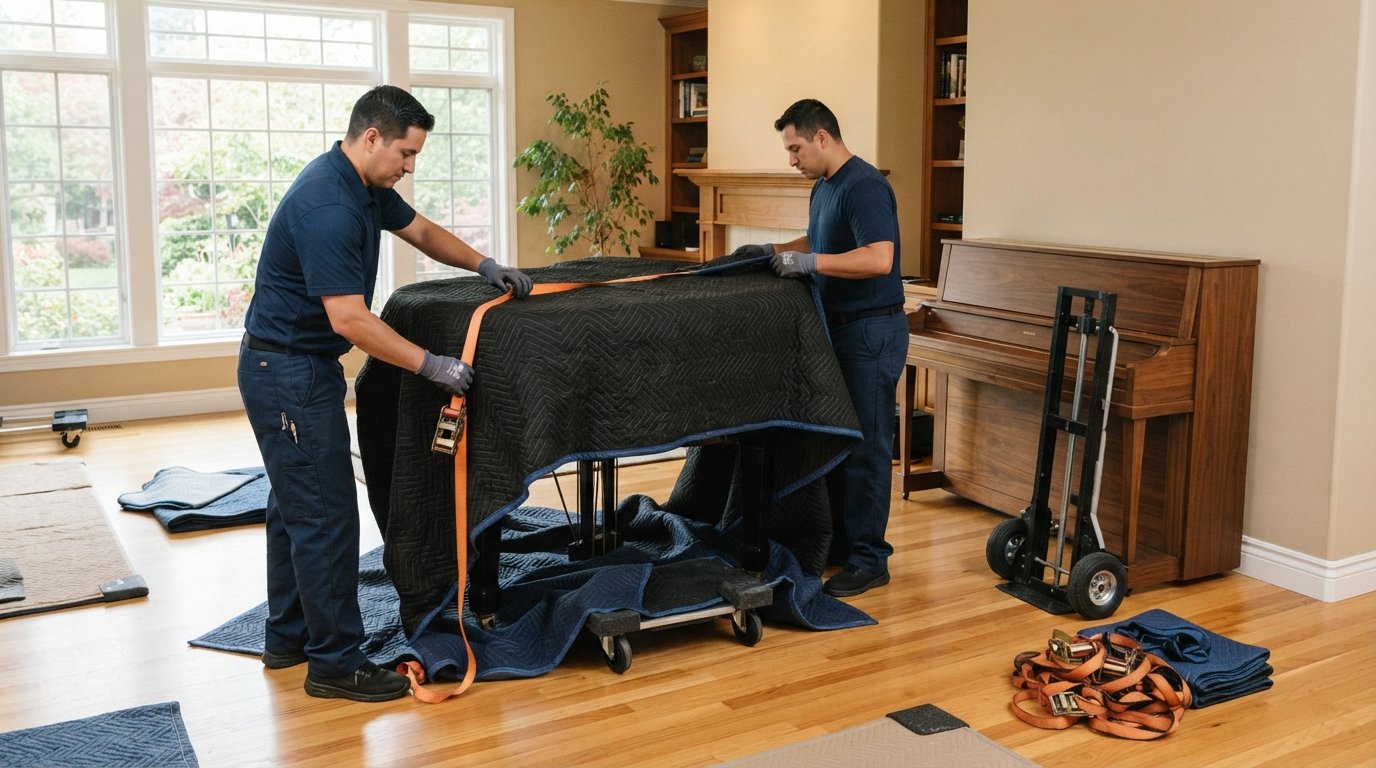
Upright pianos are simpler but still require respect. Start by closing the lid and locking it if possible. Remove any sheet music or items from the top. Wrap the entire piano in moving blankets and secure them with tape or shrink wrap. Pay extra attention to the corners and the keyboard cover.
To move an upright, you will need a piano dolly. Two strong people can tilt the piano back slightly and slide the dolly underneath. Once the piano is on the dolly, strap it tightly. The strap should go around the middle of the piano and the dolly handles. Now you can roll it to the exit. For stairs, you will need a stair-climbing dolly or a team of four people to lift and lower it step by step. Never try to slide an upright down stairs on its back; you will damage the case and possibly injure yourself.
When loading into a truck, keep the upright vertical. Do not lay it on its side unless you have no other option, and even then, only for a short distance. Secure it with straps and blankets. Uprights are top-heavy, so place them against the truck wall and brace them with other heavy items or load bars.
Tools and Equipment You Will Need
Having the right tools makes the job safer and faster. For baby grands, a piano skid board is non-negotiable. It costs around $200 to $400 but can be rented from many moving supply stores. For uprights, a piano dolly with straps is essential. You can also rent these. Other useful items include:
- Furniture straps and ratchet tie-downs
- Corner protectors and edge guards
- Piano cover or heavy plastic sheeting
- Tool kit with screwdrivers and wrenches
- Back brace or lifting belt
If you are not comfortable using these tools, or if your piano is an antique or high-value instrument, hiring professional piano movers is the smart choice. They carry insurance and have experience with tight staircases and delicate finishes.
Cost Comparison: DIY vs Professional Movers
DIY moving a piano can save money upfront, but the risks are high. Renting equipment, buying supplies, and recruiting helpers might cost $150 to $300 for a local move. However, if you damage the piano or your home, repairs can run into thousands. Professional piano movers typically charge $300 to $600 for a local move of an upright and $500 to $1,000 for a baby grand. Long-distance moves cost more, often $1,000 to $2,500 depending on distance and services.
Professional movers bring insurance, expertise, and the right equipment. They also handle the disassembly and reassembly of baby grands, which is a huge time-saver. If your piano is valuable or you have a complicated move (stairs, narrow hallways, long distance), the peace of mind is worth the extra cost. When you request quotes through Moving.Homes, you can get connected with movers who specialize in pianos and other fragile items. For homeowners who also need general contractor services for home repairs or renovations before the move, Contractor.Homes offers a platform to find pre-vetted local contractors for projects like flooring, painting, or HVAC.
Safety Tips and Common Mistakes to Avoid
Piano moving injuries are common, especially back strains and crushed fingers. Always wear gloves and steel-toed boots. Never attempt to move a piano alone. Even an upright can weigh 400 pounds, and a baby grand can exceed 700. Use proper lifting techniques: bend your knees, keep your back straight, and lift with your legs. Communicate clearly with your helpers. Agree on commands like "lift," "walk," and "set down" before you start.
Common mistakes include:
- Forgetting to secure the lid or keyboard cover
- Lifting a baby grand by its legs or lid
- Sliding a piano across bare floors without protection
- Leaving the piano in a non-climate-controlled environment
- Underestimating the weight and number of helpers needed
Another mistake is not tuning the piano after the move. Pianos need time to acclimate to their new environment, usually about two to four weeks, before tuning. Schedule a tuning after that period to bring it back to pitch.
When to Call Professional Piano Movers
You should call professionals if your piano is a grand or baby grand, if you have stairs or tight turns, if the move is long-distance, or if the piano is an antique or high-value instrument. Professionals have insurance that covers damage, and they know how to handle delicate parts like the soundboard and strings. They also have the equipment to move pianos safely without damaging your home.
If you decide to hire movers, get multiple quotes and ask about their experience with pianos. Not all moving companies are equipped to handle baby grands. Look for companies that specialize in piano moving or have a dedicated piano moving crew. Ask for references and check online reviews. A reputable mover will provide a written estimate and explain any additional fees for stairs or long carries.
Moving a piano is a substantial job, but with the right preparation and help, you can do it safely. Whether you choose to DIY or hire professionals, the key is to respect the weight, the shape, and the sensitivity of the instrument. Plan ahead, use the right tools, and never cut corners on safety.